PicsArt Blur Background: 5 Easy Steps to Perfect Photo Edits
Smartphone Photo Editing: Create a Dreamy, Marvelous, Hazy-backdrop Photos Today!

Do you want to change the BG of a photo with a picsart blur background HD download online? When it comes to finding the perfect blurred background in high 1920×1200 resolution, it’s fair to say that when photos download When it comes to doing, this versatile app comes out on top. If you want to know the details of an all-in-one photo and video editor app to edit your photos, and you want to know all the questions that users ask in different ways, like,
- How do you do background blur in the picsart?
- Does Picsart have a blur tool?
- Can you blur in Picsart?
- What is the smart blur effect?
My goal today is to help you find the answers to all those questions you get asked in different ways, so you should read the article till the end to stay professional with photo editing.
Why Blur Backgrounds Image Matter: A Closer Look
I have always been curious to know how professional photographers incorporate this opaque background into their shots. And it seemed quite puzzling how to highlight a particular point while obscuring the rest. Well, this is an expensive hobby, as such backgrounds are usually obtained with expensive telephoto lenses or macro lenses used mostly for close-up photography, but modern graphic designing software and free online tools. Everything has been made much easier due to the popularity of digital art in the world. The picsart name is taken prominently.
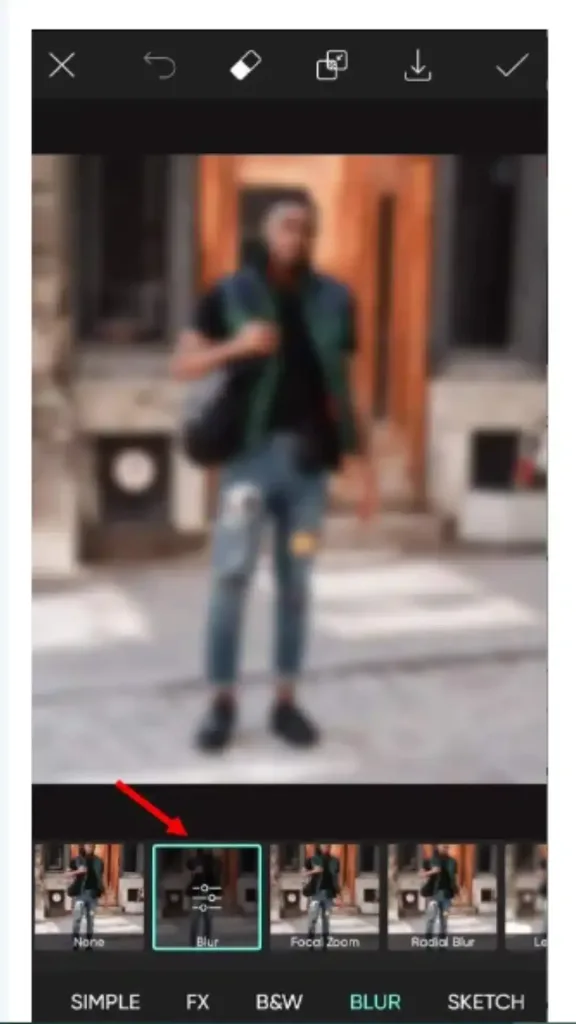
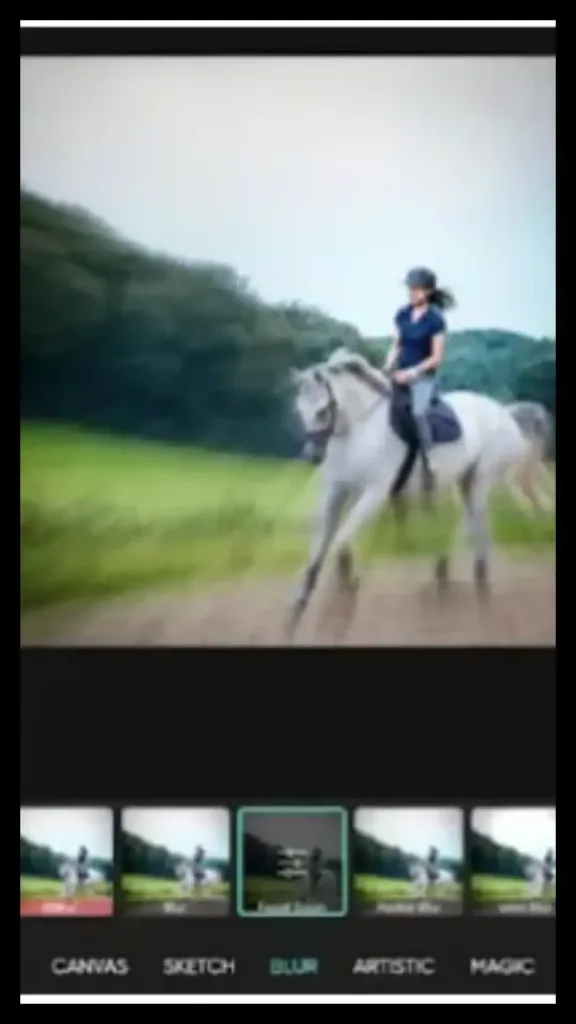
How to blur Photo background in PicsArt
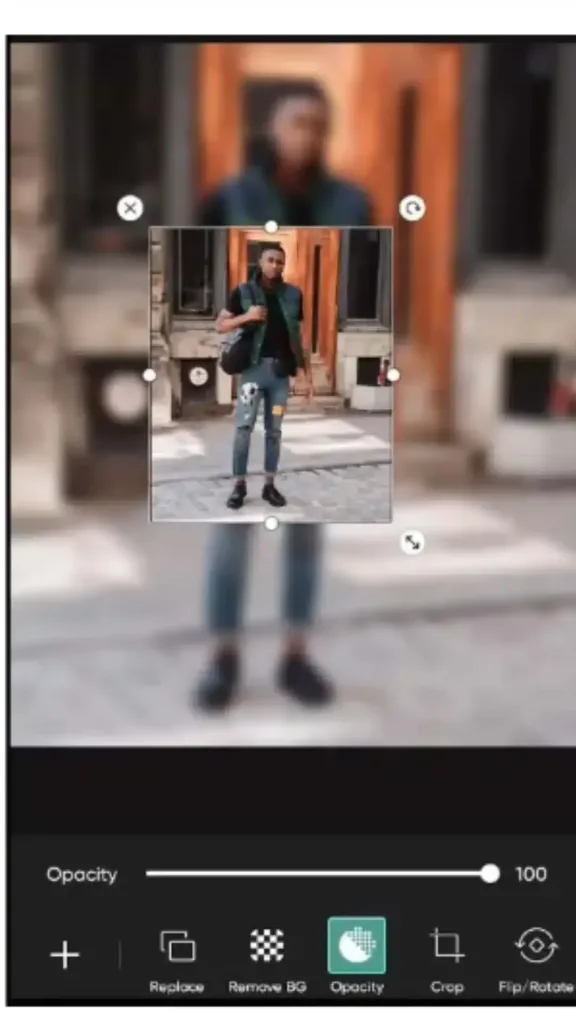
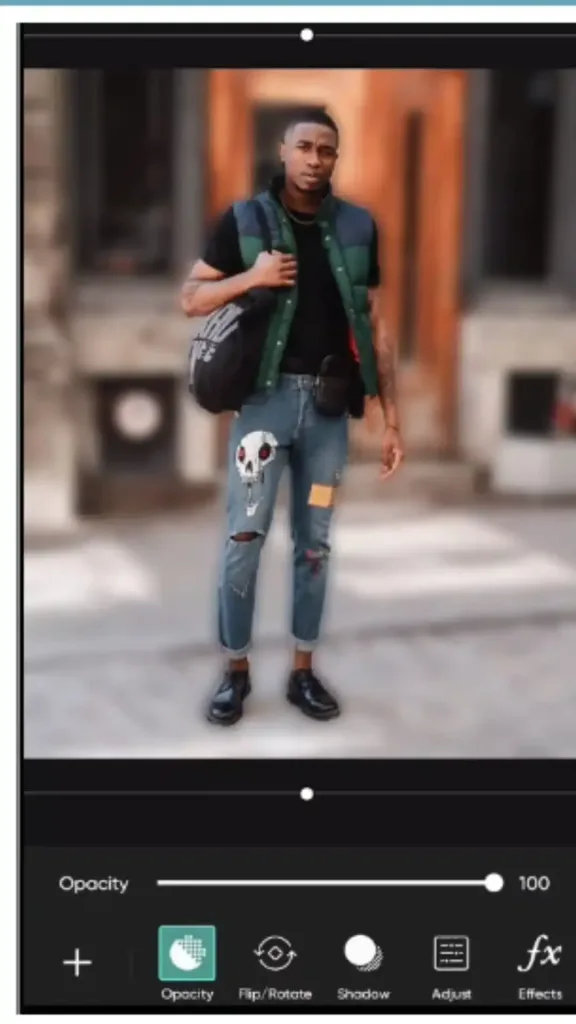
Get blurry photos with PicsArt’s BG changer tool. Whether you want to erase the background, edit a photo, or add a different effect, with its user-friendly interface and wide range of effects options and editing tools, you can easily adjust the opacity. You Can create different opaqueness effects to enhance your photos.
How to blur the background of a photo on Android
You can blur a smartphone picture with this step-by-step guide
PicsArt’s library also provides different background options and features to change the background of your photos.
How to blur the background of a picture on an iPhone
Available on your iPhone, this modded app gives easy 4 ways to blur your photos, making them accessible to everyone. So why wait?

Explore Blur Techniques in PicsArt
Give your photos a stunning look using the Picsart app and discover endless photo editing possibilities.
How to blur in PicsArt PC

The Best Effects to Apply on Picsart Web Editor
Whether you’re a beginner PC user or a seasoned photo editor, PicsArt can help way to achieve a proficient appearance with just a few easy steps.
4 Ways to Use Blurred Effects Online Free Download
Experience the simple, creative variety of effects
Explore the diverse and artistic range of background blur styles in Picsart, witness its simplicity and beauty, as well as the many creative possibilities that blur styles bring to your photos. So that you can take your photography to the sky in the design world, through these unique and simple experiences, you can achieve your artistic talents.
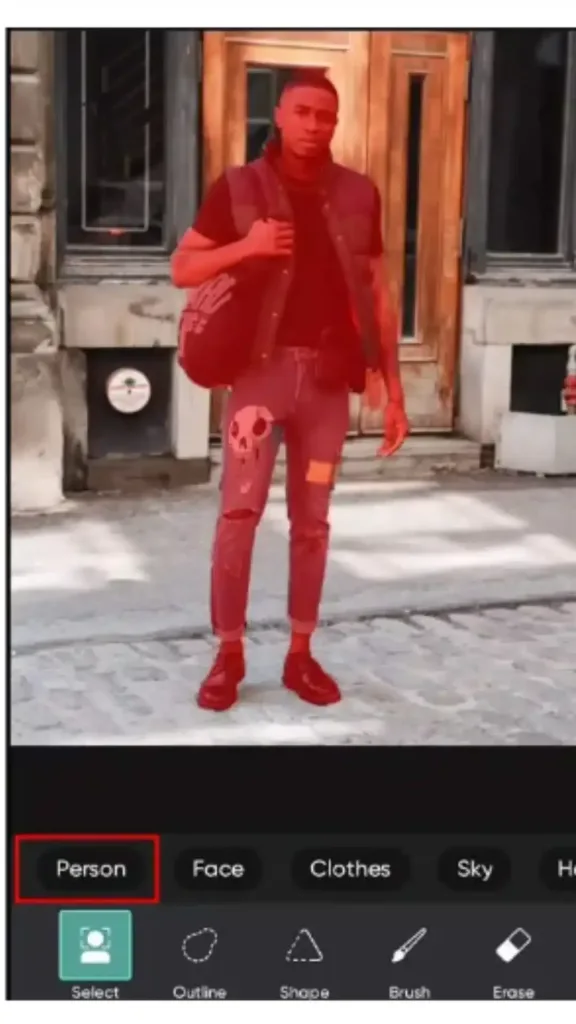
In addition to blurry background full HD, PicsArt provides other editing features, such as the eraser tool and smart blur. You can also blur specific parts of the photo or face to maintain privacy with this versatile design hub.
bokeh effect
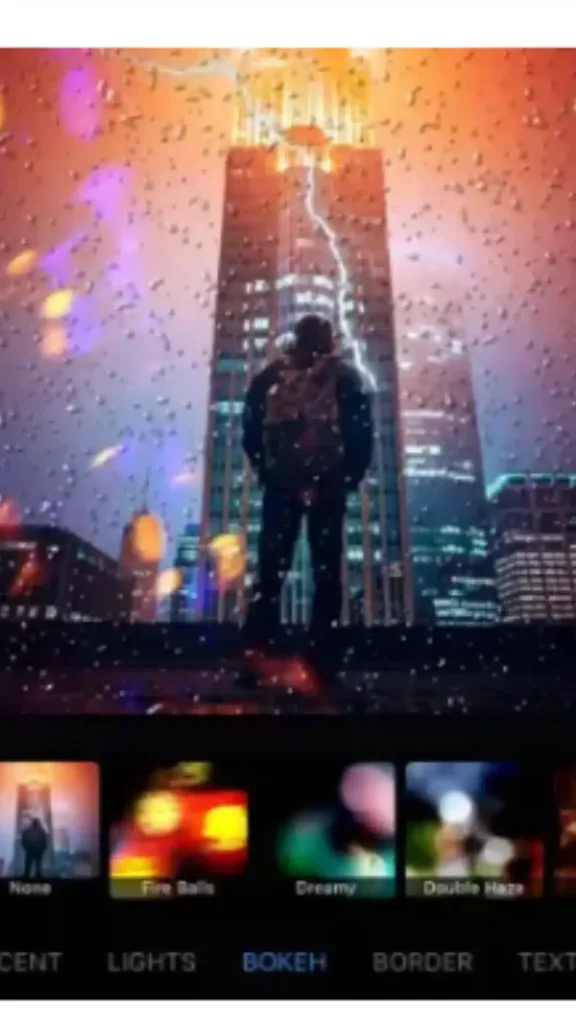
This impact is very popular in the PicsArt photography technique, which adds a fantasy and romantic look through the opaqueness of the BG of the photo, which makes it look beautiful and charming. To get the desired look, keep the selected subject in focus. You can also use the “Bokeh Blur” effect in the app to add darken and lighten bokeh effects to photos.
Tilt-shift blur effect

You can use this interesting tilt-shift blur tool to make large objects appear smaller. Using this tool, whenever an image is zoomed in, the front and back parts can be blurred, giving the impression that the depth of field has been reduced. It also provides lens blur to images.
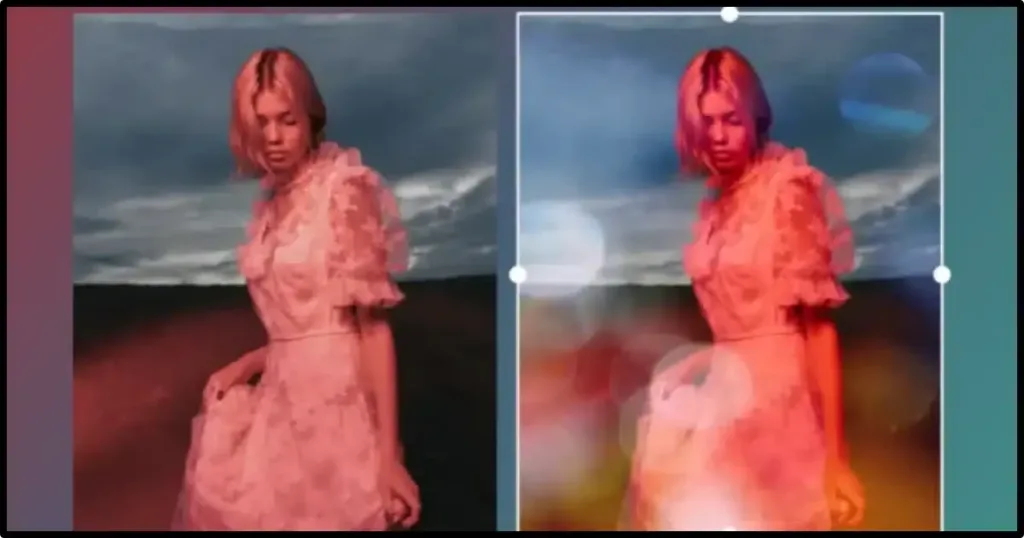
Radial blur picture
If you want a specific part of the area to stay in focus, you can get custom results using this free Radius Blur, and if you want to blur the rest of the scene, use the Radial Blur effect. Doing this ensures that you get the desired point. It makes it the centre of attention. Also, its use is considered very successful in creating a dynamic, eye-catching effect.
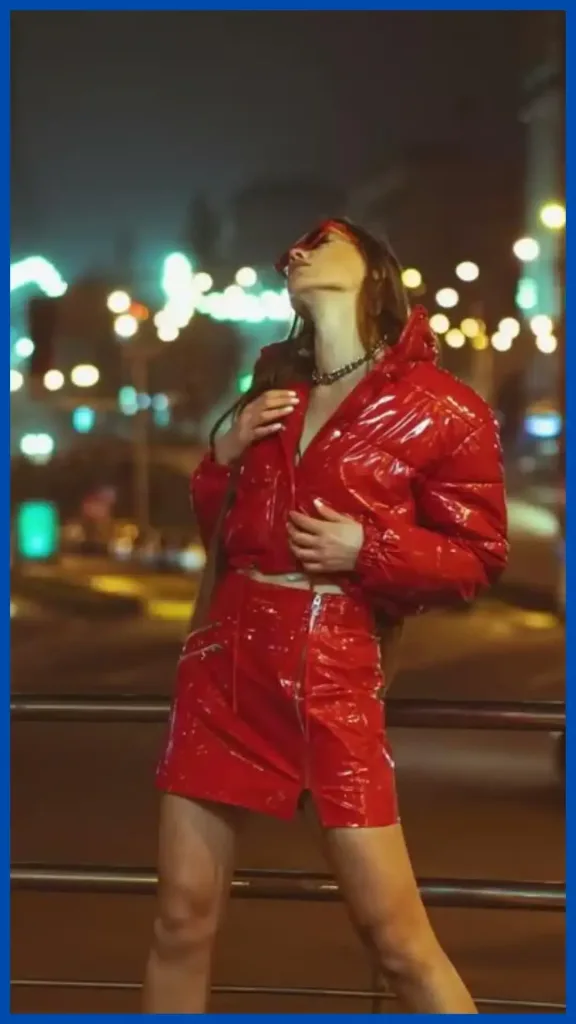
Motion blur images
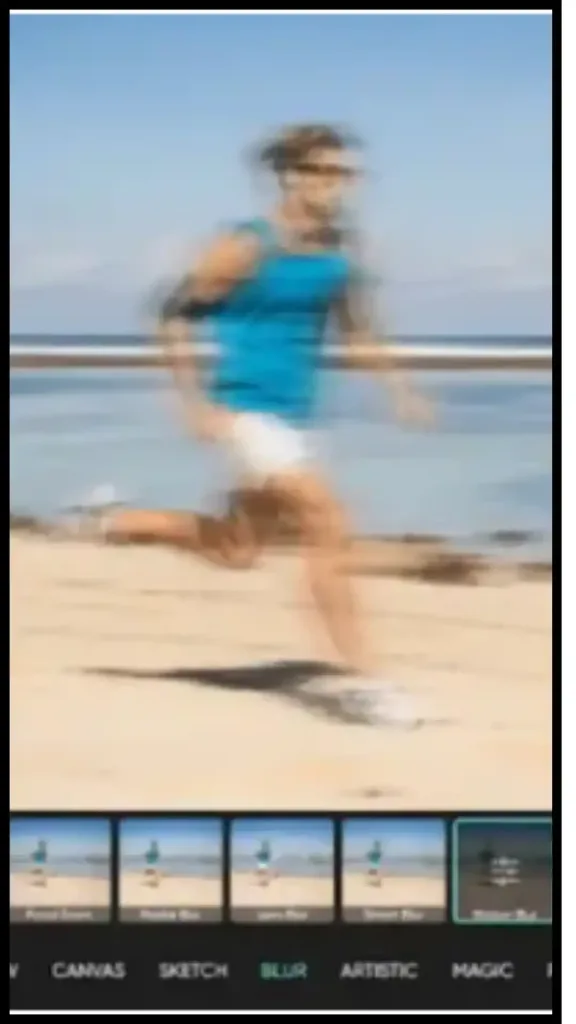
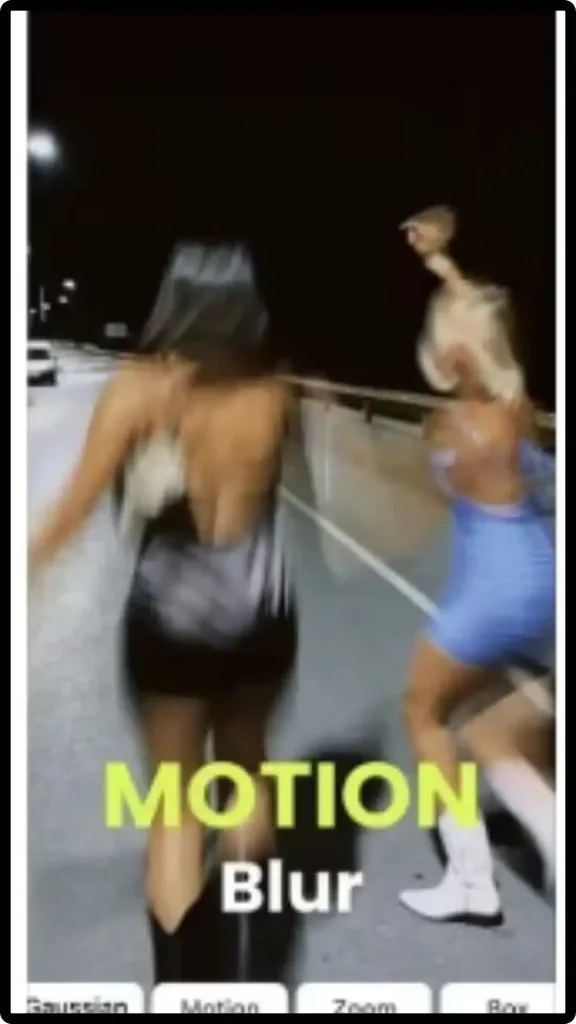
Motion blur is a very important effect. With the help of this amazing act editing tool, you can show movement in your photos. In fact, it is believed that the picture is moving. By using this tool, you can make anyone believe that the image is actually moving. There is no cost to use this tool. Hence, its use adds a dynamic and energetic feel to the image. And makes a great picture. It gives you amazing results.
PicsArt Blur Background FAQs
Final verdict
In conclusion, the PicsArt Blur Background feature is of exceptional value to photographers, graphic designers, and hobbyists who want to add depth and sharpness to their photos. It provides a simple yet effective way to artistically hide or soften surrounding elements while drawing attention to the subjects. The versatility of this feature allows it to be used in many scenarios, making it an essential part of any image editing toolkit. By mastering this function, one can greatly enhance the overall aesthetic appeal and professional quality of their photo.


